Overview
A guide to Authentication and Authorization
Authentication and Authorization
The Yodlee APIs are HTTP-based RESTful APIs. API requests and response bodies are delivered in JSON format. We use industry-standard Client Credentials for authentication and authorization. With Client Credentials, you request authentication tokens from our authorization endpoint using a client ID, secret, and user name. Tokens are used to authenticate you to the Yodlee API server and to authorize your access to the data of a specific user.
Users are identified by character strings (length 3 to 150 chars, no spaces) that Yodlee calls a loginName. You must allocate and maintain the unique login names for your users. You, the developer, is also assigned a unique loginName, known as the adminLoginName. Create a token using your adminLoginName when you wish to call the administrative endpoints. You include a loginName as a parameter in the request to the Yodlee auth endpoint when creating a token. The resulting token implicitly identifies the user (or you, if you passed your adminLoginName) when used in other API calls.
Steps to make an API Call
You will perform these steps to make an API call.
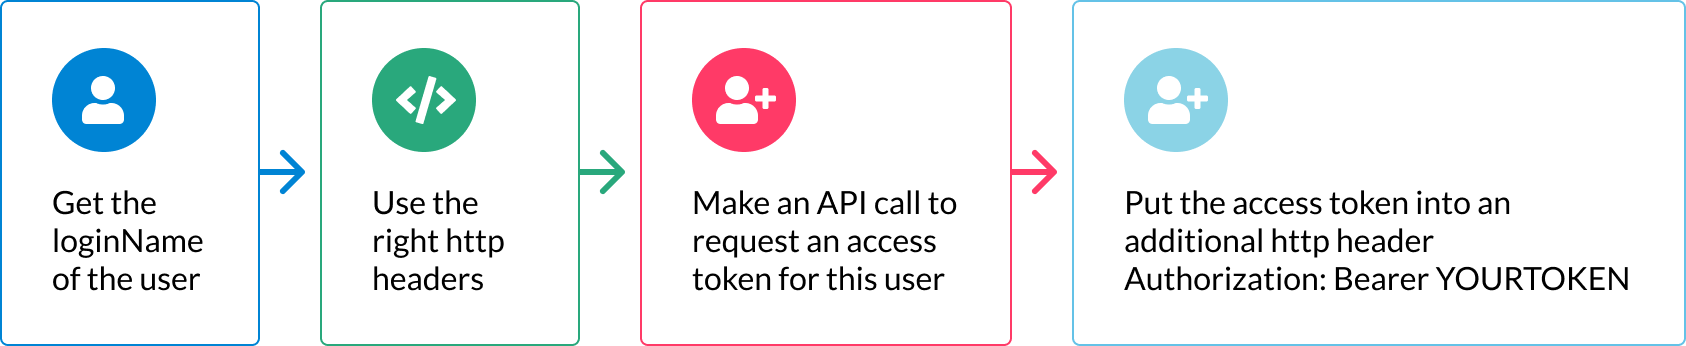
Step 1: Identify the loginName of the specific user
Identify the loginName of the specific user whose data you want to work with on this call. A few calls don't work with any specific user. For these calls, use your own admin loginName where a login name is needed in the next step. If you give a user loginName in your token request, the token is called a "user token". If you used your own admin loginName in your token request, the token is termed an "admin token" or "app token".
Step 2: Assemble the HTTP headers
Assemble the HTTP headers you'll need for API calls. One header specifies the expected response format, one header specifies the Yodlee API version, and the third header (Authorization header) sends the accessToken as a bearer token for this API call. Don't use the Authorization HTTP header in the API call we make in the next step. The purpose of the call in the next step is to obtain the token that will be used in the Authorization header on subsequent calls. The headers have this general appearance:
   Content-Type: application/x-www-form-urlencoded

   Api-Version: 1.1
Step 3: Request an access token
Next, request an access token. Make an API POST /auth/token call, passing the loginName in the headers, and your clientId, and your secret in the POST body. You can see your admin loginName, clientId, and secret on your developer account dashboard. Remember to use your end user's loginName when you make one of the many calls that process the user's data. Use the Content-Type, and Api-Version HTTP headers shown in step 2 above. The API call with parameters will look like this (use the actual values of parameters where the placeholder strings are shown):
   POST /auth/token
   Request body: clientId=CV2w3HScVTW2CNdWmuqfpoMR8KM8l9og&secret=khA1KgdG56xRlT
Step 4: Use the access token
The HTTP response includes your accessToken in a JSON object. The accessToken will expire after 30 minutes and can be reused for that duration. A response body to the token request looks like
{ "token": {
          "accessToken": "7PjVXlq9XgHwGlDVF8VQu0ZJEnIY",
          "issuedAt": "2020-01-10t07:12:02z",
          "expiresIn": "1799"
      }
    }
The string 7PjVXlq9XgHwGlDVF8VQu0ZJEnIY (without quotation marks) is the access token. Put that string in a new HTTP Authorization header, which will look like this:
Authorization: Bearer 7PjVXlq9XgHwGlDVF8VQu0ZJEnIY
Leave one space after the keyword "Bearer" and use the accessToken string returned by the POST call without quotation marks. For subsequent API calls, you will use all four HTTP headers (the Authorization header is not used in calls to /ysl/auth/token, because that call is used to obtain the access token). You can add additional headers, e.g., for a cache behavior.
Now that we have a token for a specific user and we have put it into an HTTP header of the appropriate form, we can make the API call. If you need to change to work with a different user, stop using the old token, and call POST /ysl/auth/token again with the different user's userLoginName to get a token for that user. The best practice is to revoke an old token when you stop using it.
Our authentication method follows the standard defined by RFC 6749. Yodlee used to support JSON web tokens for authentication and authorization. We switched to client credential grants because it is simpler, and customers requested them. Each Yodlee environment (Sandbox, Development, and Production) uses different credentials for access. If you accidentally reveal one of your confidential credentials (clientId or secret), you can revoke the old credentials and obtain a new set by using the controls on your developer dashboard page. If you revoke a credential, apps using that credential will stop working and need to be updated. You can read more about Yodlee environments here.